

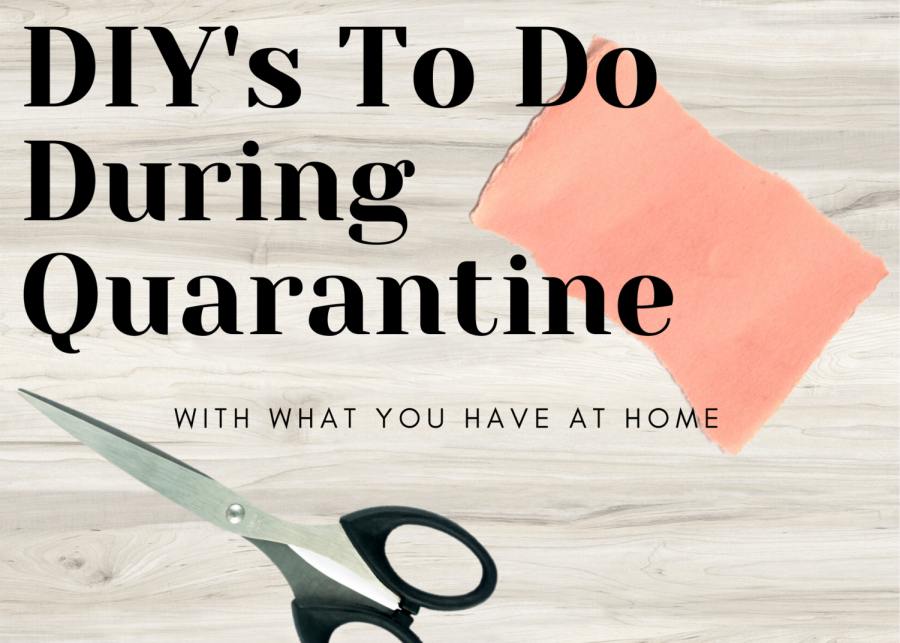
DIY’s To Do During Quarantine
After finishing up your homework, it is difficult to know what to do next, especially when you cannot leave your home.
Due to the Coronavirus, these past weeks have been very stressful for everyone. Along with cancelations of school and vacations, we were asked to stay home and, although it is for the best in order to stop the spread, figuring out what to do on a daily basis is a full on struggle. It may be boring sometimes, but these are times to allow our minds to be creative. Here are some ideas of simple DIY projects that everyone can do to pass the time and possibly enjoy.
Create a Garden
Being inside your home for a long period of time makes you miss the outdoors. If that is the case, bring the outdoors to you. With unused cups and an empty egg trays, you can transform any windowsill into tiny garden. In order to obtain the seeds, ordering them off from Amazon will be a good start especially if you’ve never had any experience in growing your own plants. Some kits may come with their own miniature pots, as well as instructions to get you started. Always keep in in mind, though, that when a package is delivered to your household, make sure to leave it outside for at least 24 hours due to safety purposes in these times.
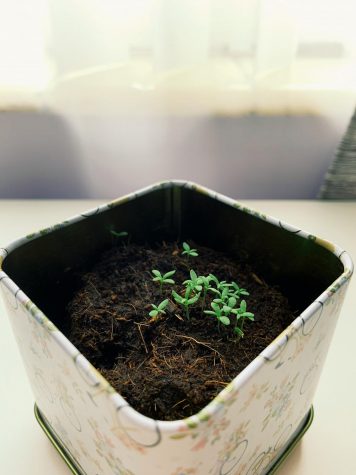
In under two days, these Chamomile tea plants have grown very quickly with the help of sunlight and water.
“So far during quarantine I cleaned my backyard and got rid of a lot of stuff and now its empty and spacious. So I try to go outside and play with my dog or bring a softball outside and play with my family,” junior Natalya Barbito said.
Create your own play dough
With a few simple household ingredients, you can relive your childhood by making your own play dough. By using this recipe, it will come out soft and will not stick, as well as being long lasting, for months.
Playdough ingredients:
- 2 cups all-purpose flour
- 3/4 cup salt
- 4 teaspoons cream of tartar
- 2 cups lukewarm water
- 2 tablespoons of vegetable oil (coconut oil works too)
- Food coloring, optional
- Quart sized bags
Instructions:
1. Stir together the flour, salt and cream of tartar in a large pot. Next add the water and oil. If you are only making one color, stir in the the color now.
2. Cook over medium-heat, stirring constantly. Continue stirring until the dough has thickened and begins to form into a ball. Remove from heat and then place inside a bowl, gallon sized bag or onto wax paper.
3. Allow to cool slightly and then knead until smooth. If you are adding colors after, divide the dough into balls, depending on the amount of colors you would like, and then add the dough into the quart sized bags. Start with about 5 drops of color and add more to brighten it. Knead the dough, while inside the bag so it does not stain your hands.
4. Store the play dough inside the bags to keep soft. If stored properly it will keep soft for up to 3 months.
(This recipe from Jamielyn Nye at iheartnaptime teaches you how to create the best homemade playdough recipe that can help anyone relive stress and entertained.)
“Recently cooking has been one of the main things to keep me preoccupied as well as teaching my dogs some tricks which hasn’t been successful yet,” sophomore Kaylah Clethen said.
Origami
With easy and simple instructions you can master creating different figures and shapes. It may seem like a difficult technique, but it does not have to be perceived that way. It takes time and patience yet some can be made very quickly. A fun origami to start off with is the “Jumping Frog”. With 3o easy steps, a miniature frog can be made and can actually jump far if it is pressed down on its back. This and more origami projects can be found on Origami.me.
Sewing
With just a needle and thread, you can create art work as well. There are many easy sewing activities that can be done in under minutes, and do not need to be made with a sewing machine. With a few pieces of fabric, a mini messenger bag can be sewn out from it.
- 1/3 yard each of two coordinating fabrics
- Mini Messenger Bag Pieces
Instructions:
- Print the three pieces to use as a way to trace the shapes onto the fabric. Make sure to tape the back and flap pieces together on the black dotted lines before you cut your fabric.
- Cut out the pieces by folding the fabric and place the pattern pieces with the straight edge on the fold. Cut one front piece and one back with flap from each fabric.
- To make the strap cut a piece from each fabric that is 3 inches wide by about 38 inches long.
- With the other cut pieces put right sides together on matching fabrics and sew around the edges of the front part on the three outer edges. Do this step with both of your fabrics.
- Turn your inner piece right side out and stuff it down into your outer piece. Get your strap and place it between the two layers.
- Match up the corners of the two layer and slide the strap in so that the end is poking out. Do this on both sides of the bag. Match up the sides of the bag and the flap and get everything all pinned together.
- Now you are going to sew around the bag starting at the top, down the side, across the center piece (only catching the front pieces) and up the other side making sure to leave a 3-4 inch opening at the top to turn it.
(These instructions can be found at CrazylittleProjects and was creatively made by Amber. Many more of her ideas can be found on this website.)
Being bored is certainly frustrating, but there is always an option to make the most of it. Finding different activities to do around the house can take a bit of energy but a new hobby might possibly grow from it.
Your donation will support the student journalists of Coral Gables Senior High School. Your contribution will help us cover our annual website hosting costs.

Amanda Perez is currently a sophomore in the International Baccalaureate program at Coral Gables Senior High. This is her first year as a staff writer...


