Nailed It!
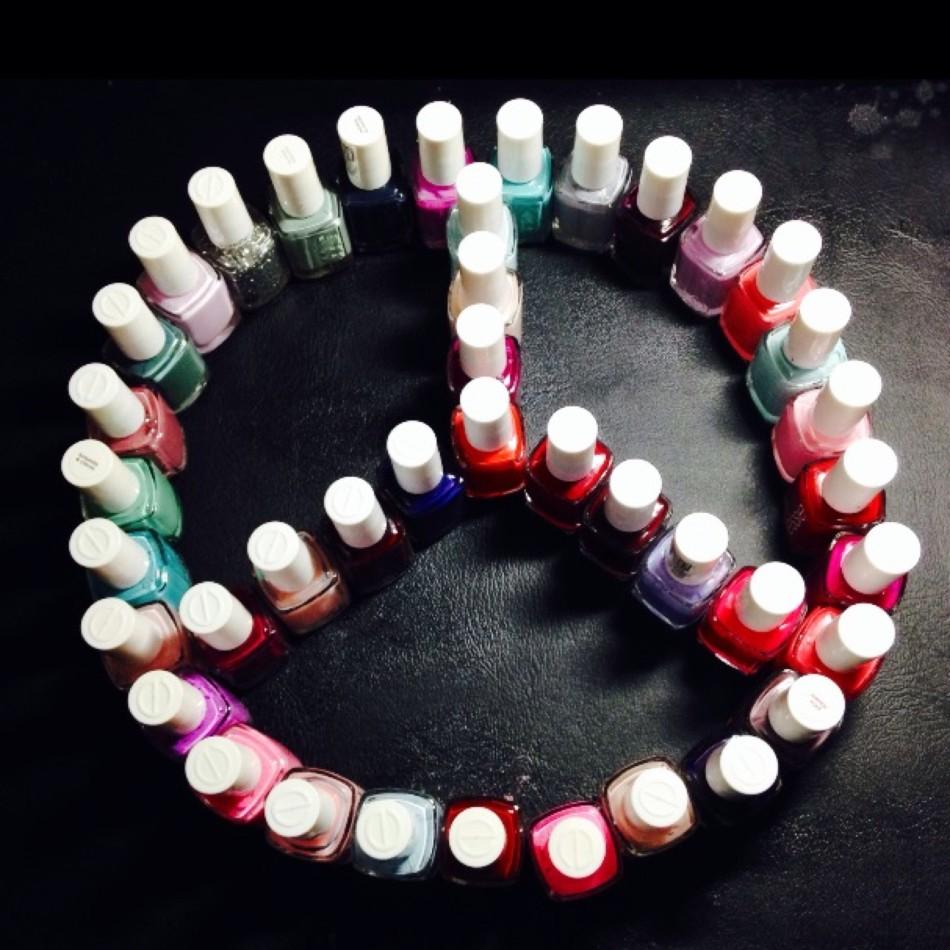
Nail polishes come in all colors to give you a variety of combinations to choose from.
Mar 18, 2014
With spring practically here, some girls are finding it a necessity to have their nails up-to-date and trendy. Unfortunately, getting your nails done at your nearest salon every week can add up and be very expensive. With a few tools that you can find around your house, and different shades of polishes, you will be able to achieve the following nail designs easily and inexpensively!
1. Infamous Ombre – All this nail design requires is a sponge and 4 nail polishes (white, and 3 similar colors that blend well together).
- Paint your nails an opaque white polish and let them dry completely.
- One color at a time, paint a thin line of polish onto the sponge, and apply it to your nail.
- Immediately, dab the sponge lightly on your nail.
- Seal your design with a topcoat.
2. Water Marble – Water works wonders on your nails. You don’t need to spend another penny for this gorgeous design!
- Fill a small cup with warm water.
- Then paint your nails white and let it dry completely.
- Open the nail polish and place the brush slightly a bit above the water so a drop of nail polish falls on the surface of the water.
- Repeat with all the other colors you chose.
- Then immediately make lines onto the nail polish on the water with a toothpick. A spider web design looks great!
- Place your nail directly under the floating polish so that it catches on the top of your nail. Let the nail dry.
- You will have to repeat this step with all your nails.
“I have tried the water marble twice, and at first it’s difficult but then I got the hang of it. In the end, it’s worth the patience needed to do this to your nails,” freshman Kimberly Molina said.
3. Chevron Stripes – If you have zig-zag scissors laying around in your kitchen cabinet, this design is the way to go!
- Grab a roll of tape and rip off a small (1 inch) piece.
- Paint a thin line of nail polish on the tape, and let it dry completely (about 5 minutes).
- Next, gently rip off or remove the thin piece of nail polish you painted on the tape.
- With your zig zag scissors, cut the layer really thinly.
- Then place it and cut it down according to the width of your nail.
- You just made yourself a nail sticker!
4. I’m Matte for you – Steam from your stove while making your favorite pasta can get you a beautiful matte manicure in!
- Paint your nails the color of your choice.
- Run to your kitchen and place your hands slightly on top of a source of boiling water, just so that the steam ‘touches’ your nail.
- DO NOT BURN yourself. Be extremely cautious.
- You’ll finish with beautiful matte nails!
“This trick works great! I personally love leaving my nails matte because it adds a classy look to them,” sophomore Barbara Beatriz said.
With enough patience and time, you will be able to easily achieve these nail designs. Get creative — use any colors you’d like! Only a few household items are needed to make these designs on your nails, but remember to stay safe so that you can admire your nail masterpiece!